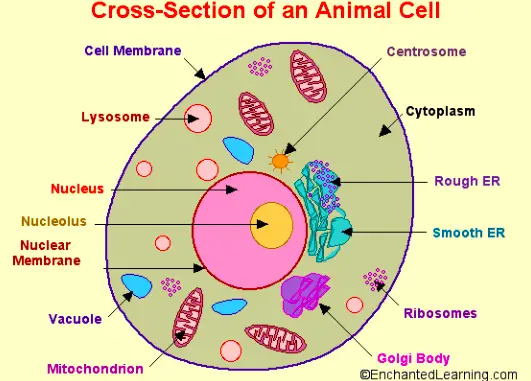
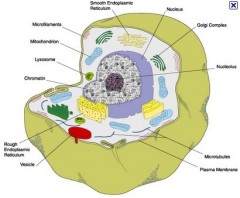
Animal cell models can be created using styrofoam balls and various items found in the house and outside:
- a clear, labelled image of an animal cell
- a styrofoam ball, about eight inches in diameter
- a 2 in styrofoam ball for the nucleus
- two to three peanut shells or similar shaped pebbles for mitochondrions
- two small marbles, for the peroxisome and the lisosome
- bits of thin string or yarn in different colors for microtubules, intermediate and micro filaments
- a rectangular shaped piece of thick card for the centriole
- thin blue card, to make the smooth and rough endoplasmic reticulum
- pink card cut to shape the golgi apparatus
- thin, flexible tubing for the flagellum
- some sand/ gravel
- sharp knife
- scissors
- liquid glue
- beige and purple paint
- paintbrush
- pencil
- old newspaper
- toothpicks and white card
Protect the working area with old newspaper. Cut the large ball in half. Slice enough off the rounded side of the half used to allow the model to sit flat. Paint it with beige paint. Allow to dry.
Cut out a quarter out of the small ball, and then slice most of the bottom half off. Paint with purple paint. Allow to dry.
Cut most of the blue card into strips, dot with glue and sprinkle sand or gravel all over to represent ribosomes. When dry, shake off excess material. Use the rest of the card to cut the shape for the smooth reticulum.
Using the picture as a guide, mark the positions of the elements on the top side of the large ball with a pencil. Glue on the nucleus; attach all other parts by pushing them into the base.
Label all parts using toothpicks and white card.

